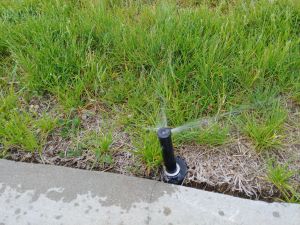
Replacing damaged or plugged sprinkler nozzles or installing a sprinkler nozzle on a new pop-up head.
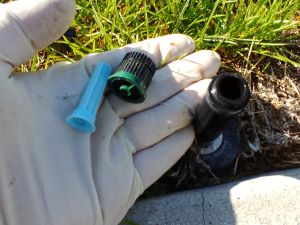
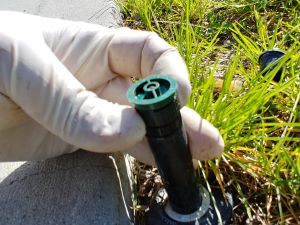
Start by pulling the pop-up sprinker head shaft up out of its resting place, a small screwdriver can be helpful at this point to pry the sprinkler nozzle out of its resting place. It is spring loaded, so you will have to hold on to it for the entire process.
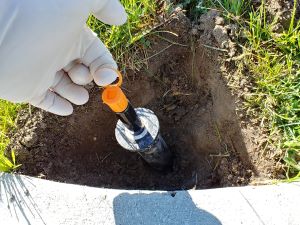
I am holding the sprinker nozzle up by putting pressure on the bottom of the shaft with my fingers.
Unscrew and remove the nozzle or flush cap (new heads, it is a cap that comes with the new sprinkler head that allows you to flush debris out before installing a nozzle). Remove the basket / Screen as well, you may need to use a small screwdriver to help coax the basket out.
Select the proper sprinkler nozzle for replacement. Nozzles are rated by number. The number is related to how far the sprinkler nozzle throws water. Example, a 15 nozzle will throw water 12-15 feet, so it can cover an area up to 30 feet wide. There are charts available to help you select the nozzle for the brand you are using. Simply search the Internet for your sprinkler model.
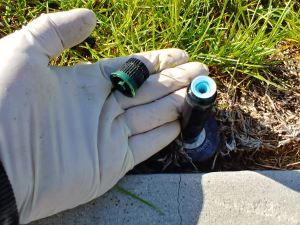
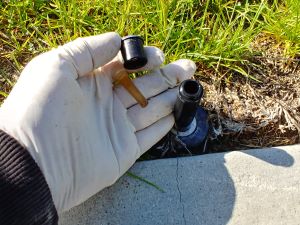
Simply insert the nozzle basket of prefilter
Then screw on the sprinkler nozzle.
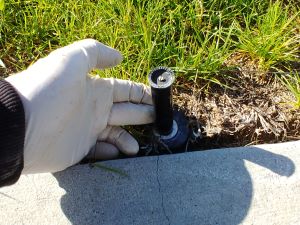
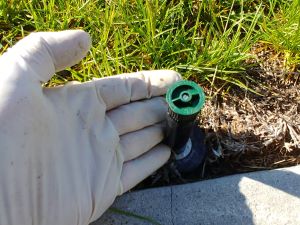
If the sprinkler nozzle is on an edge of a zone (like along a sidewalk) and needs to be adjusted so that the water sprays the correct direction, simply grasp the sprinkler head shaft and twist in the direction it needs to be adjusted to. You may hear a clicking sound while you turn the shaft, this is normal.
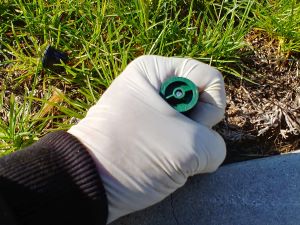
If you are using a variable arc sprinkler nozzle you can adjust the arc by twisting the ring on the collar or top of the sprinkler nozzle. This will be different depending on the brand nozzle you are using.

Test the sprinkler zone to make sure the new sprinker nozzle is adjusted properly.