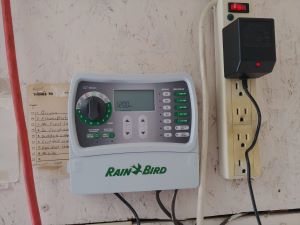
Mount the new timer to the wall. Follow the instructions provided with the timer for mounting.

Connect the wiring. I usually start with the common wire, then each valve wire in order. If this is a new install, the common is generally white for irrigation wiring (Often Represented by the letter C).
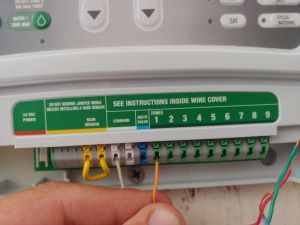
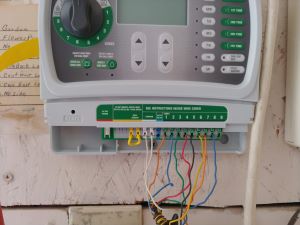
If you are replacing an old timer, make sure to get the proper colors connected to the correct zone numbers. The zone numbers are generally listed above the corresponding wire.
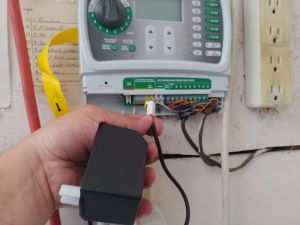
If the power cord needs to be wired, follow the instructions provided with the timer. Plug the timer in and remove the plastic battery contact separation strip. This strip keeps the battery fresh while the timer is waiting to be purchased.
Lay the wires inside the clock in such a way that they will not get damaged by the covers, or compromise the connections.