Identifying the Issue
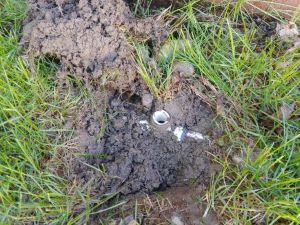
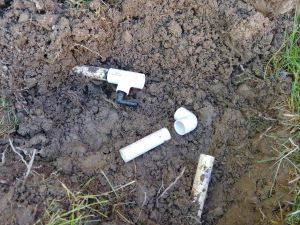
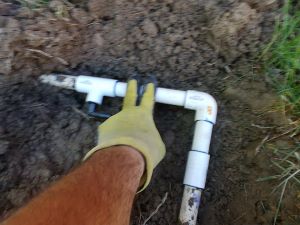
This sprinkler was installed incorrectly, necessitating a lateral PVC pipe repair. The installer hard piped / glued the fitting for the sprinkler head. We always recommend using swing joints to prevent such issues.
This sprinkler was installed incorrectly, necessitating a lateral PVC pipe repair. The installer hard piped / glued the fitting for the sprinkler head. We always recommend using swing joints to prevent such issues.
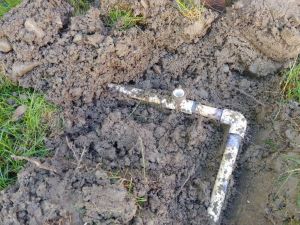
Begin the repair process by carefully exposing the lateral pipe. This allows for better access to the damaged area.

Cut out the broken section of PVC pipe. If the break is too close to the elbow for a coupling repair, you'll need to remove the elbow as well.
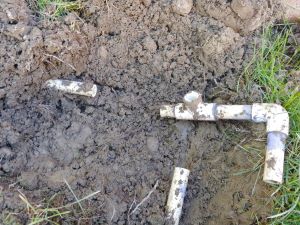
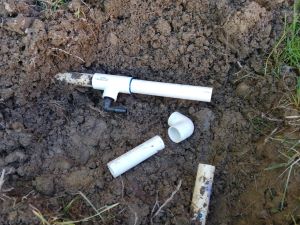
This example covers the removal of the sprinkler PVC pipe with elbow. A coupling repair would be a standard lateral repair, but removing the elbow provides more flexibility in the lateral line when assembling the repair.
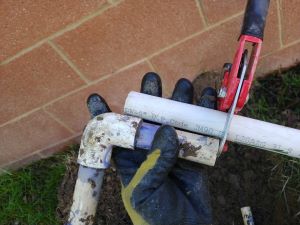
If possible, use the removed section as a guide for cutting your replacement PVC piping. This ensures a more accurate fit.
Start building the repair toward the elbow. Use couplings or a tee with threads for attaching a swing joint to supply a sprinkler.
Continue assembling the repair components, ensuring each connection is properly glued and aligned.
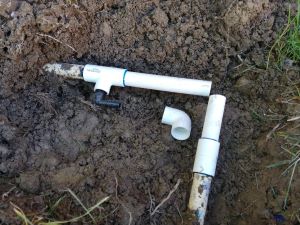
Complete the assembly of all repair components, double-checking each connection for proper fit and alignment.
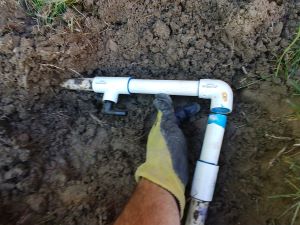
Apply glue to the PVC elbow and attach it to the repaired section. Ensure proper alignment before the glue sets.
When gluing the PVC elbow, prep both sides simultaneously. Bend the longest lateral back to allow pushing the elbow on, then force it onto the short side. Once in position, hold it firmly until the glue sets.
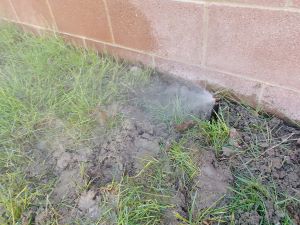
If installing or replacing a sprinkler, assemble the swing joint and backfill. Test the repair after the appropriate drying time to ensure there are no leaks.